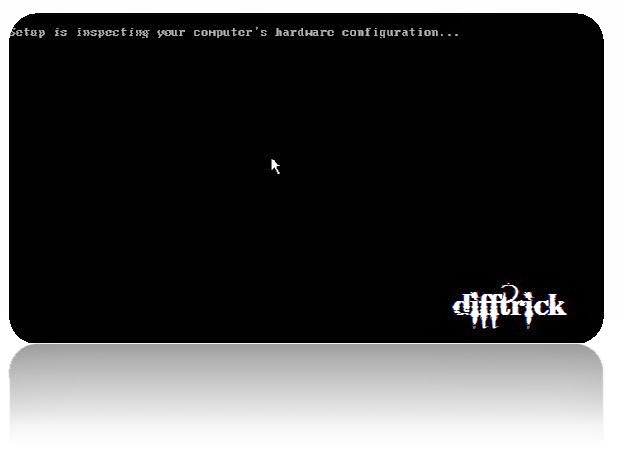
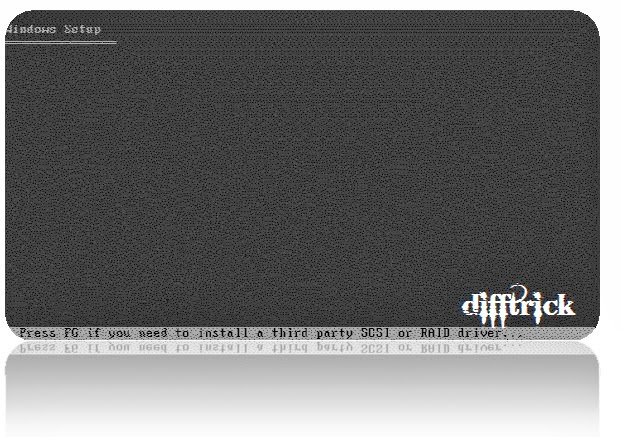
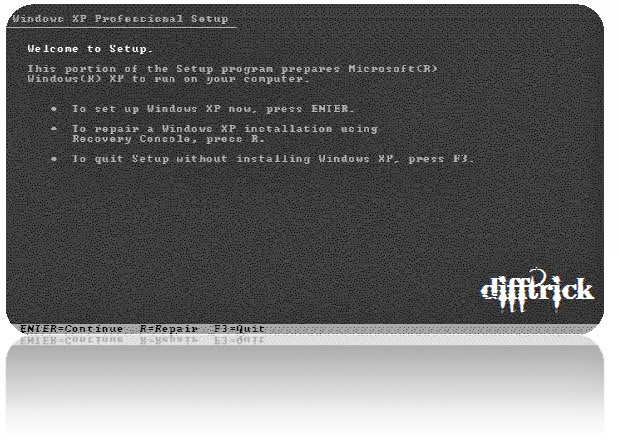
STEP 4: Hit Enter at the next screen to continue installation.
STEP 5: The Microsoft Windows XP Licensing Agreement appears next, as shown in the following screen. It is important that you read and understand this agreement before continuing with the installation. After you have read and agreed to the contents of the license, press F8 to continue.
STEP 6: Defining Drive Partitions:-
- You now need to define the drive partitions. Defining your drive partitions is used instead of FDISK. When defining your drive partitions, it is extremely important that you leave enough space for your Linux partition! Following are the steps:
- Press C to create a partition for your Windows install.
- You need a minimum of 2 GB of space for each of your operating systems. When you are prompted for the size of the partition, enter a number that is equal to 50 percent of your available hard drive space. Then, highlight the partition, which should be labeled UN partitioned space (see the following illustration) and press C.
Note: If partitions already exist they should be deleted. However you should realize thatthis will permanently removeany data that is currently on your system.
Step 7: Now create your new partition to be at least 2GB. In the provided space type 2047 and press Enter.
Step 8: You should now see two partitions. Verify that the new 2047 partition is highlighted and press Enter.
Formatting Drive Partitions:-
Step 9: The next step is to format your partition. For security reasons, you should format your partitions using NTFS. NTFS is a Windows partition type that allows you to assign permissions at the folder level. This level of granularity is not the same for FAT partitions. NTFS also allows for lager partition sizes compared to the 2Gb limit that comes with FAT16.
Step 10: Highlight the NTFS <Quick> partition option as shown in the following screen, and press Enter.
Step 11: After you press Enter the system formats the partition, as shown in the following screens. Depending on the size of the partition, this step can take from 5 minutes to an hour. This is a great time to refill your caffeine-laced beverage of choice. (You may need it because you have a long way to go.)
Since this will take a while you should just wait while this process continues.
When you return to your machine, you may see one of the following screens. Don't be alarmed. The system has completed the formatting process and has automatically rebooted. After this occurs, you have to answer the remaining install questions.
Customizing Your System:-
Now Windows presents a series of questions, which, when answered, customize your system. The following steps walk you through the process of customizing your system:-
Step 12: Typically, you only need to make changes during the next step (see the following screen) if you are located outside of the United States or if you use a non-standard keyboard. If you are in the United States and you are using a standard QWERTY keyboard, press the Next button. If you are located outside of the United States, you should change your locale settings.
Step 13: Enter your name and the organization you work for in the Name and Organization fields. For the purposes of this course, have some fun making up fictional names. Click the Next button when you are done.
Step 14: In the next screen, enter the Product Key number that came with your software (find it on your CD). If you make a mistake when you enter the key, you receive an Invalid Key message and the system gives you another opportunity to enter it. Once you enter in the valid key, press the Enter key.
Step 15: Now enter a name in the Computer name field to name your computer. If you are part of a corporation’s domain, you need to follow your corporation’s guidelines for naming systems. For our purposes, name your machine whatever you desire. Then, type in a password in theAdministrator password field. You also need to confirm the password as shown in the following screen. Then, click the Next button.
Warning: A common mistake many administrators make at this stage is to leave the Administrator password field blank. It is highly advisable that you enter a password that matches your company’s password policy for local passwords. You don't want to forget to change the password after you have completed the installation. Also, make sure you remember this password. You will need it to login.
Note: Depending on your configuration, you might receive the Modem Dialing Information Screen. Just cancel out of this or click Next to get to the next screen.
Step 16: In the screen that appears, enter the current time, and then fill in theDate field and Time Zone field. Click Next.
After you make the previous configurations, the system installs your networking components, as shown in the following screen.
Customizing Network Settings:-
Now you need to set up your system so that it can be networked with other systems.Following are the steps:
Step 17: First, you must choose the type of settings you are going to use. Note that it is rarely a good idea to use Typical settings when configuring an application or operating system. It is always a good idea to choose Custom settings, as shown in the following screen. When you use thisoption, you only install options you need. You won't end up installing something you aren't aware of because you chose an option that automatically does this. After you select the Custom settings option, click next.
Step 18: Windows no longer tries to install IPX/SPX, so there is nothing in the Custom settings that you need to remove. This is a great time to setup your local IP address if you are not using a DHCP server in your environment. The assumption here is that you are not going to plug this test machine into a production environment, so it's safe to add your own IP address. Highlight Internet Protocol (TCP/IP) and click the Properties tab.
Step 19: The following screen appears which allows you to enter your own IP address. For the purposes of this exercise, use anon-routable IP address.Select ‘Use the following IP address. Enter192.168.1.2 in the correctfields. Then, enter astandard 24bit subnet mask of 255.255.255.To make the entire section complete, enter a default gateway settingof 192.168.1.1.
Step 20: As previously stated, you are not joining a network or a domain, so just enter a name of your choice and leave the first No option enabled (see the illustration that follows). After you have the information entered, click next.
Step 21: Windows completes the networking portion of the installation and moves on to its final tasks. This step takes a longtime, so take the opportunity tograb anothercaffeine-laced beverage.
Step 22: If you get the following screen, shout for joy. Congratulations, you have successfully installed Windows XP. Click Finish and then remove the Windows CD-ROM before the system reboots so that you don’t accidentally start the install process again.
Step 23: After the next screen comes up, click the OK button.
Step 24: As shown in the next screen, you now need to log in using the Administrator account and the password you entered earlier during the install. After youhave entered the appropriate credentials, click OK.
Note: Depending on your version of the software you might get several screens about connecting to the Internet and registering Microsoft before you get the login screen.